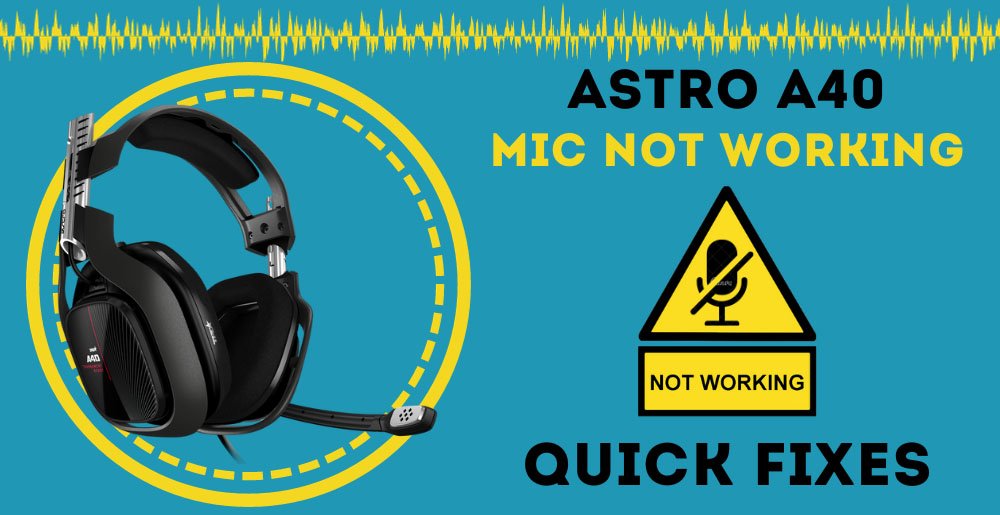
To fix an Astro headset not connecting, first ensure the headset is charged and the console’s firmware is updated. Reset the headset by holding down the Dolby button for 10 seconds.
Astro headsets are renowned for their premium-quality sound and durability, essential for immersive gaming experiences. Despite their reliability, users may occasionally face connectivity issues. A smooth, uninterrupted connection between your Astro headset and gaming console or PC is critical for maintaining in-game communication and enjoying rich audio.
Understanding the common troubleshooting steps can swiftly restore your gaming setup to optimal performance. By focusing on simple solutions such as checking battery levels, updating firmware, or performing a reset, gamers can often quickly overcome connectivity problems without the need for extensive technical support. This ensures that your gaming sessions remain as engaging and interruption-free as possible.
Initial Checks Before Troubleshooting
Initial Checks Before Troubleshooting can save time. Your Astro Headset has many features. It may not connect for simple reasons. Let’s perform basic checks first. These steps help identify common issues. They are quick to do. Always do these before complex troubleshooting.
Ensuring Power And Battery Life
Is your Astro Headset charged? It needs power to connect. Check the following:
- Charge the headset if it’s low on battery.
- Use the correct charger for your model.
- Look for indicator lights. They show charging status.
- Check the manual for charging instructions.
These steps make sure battery issues aren’t the cause.
Checking Physical Connections
Is everything plugged in right? Loose connections cause problems. Here’s what to do:
- Inspect all cables and ports. Look for damage.
- Make sure the USB or Optical cables are secure.
- Reconnect wires and adapters. They should fit snugly.
Good connections help your headset communicate with devices.
Credit: headphonemax.com
Common Astro Headset Connection Issues
If your Astro headset isn’t connecting, you’re not alone. Let’s explore some common causes behind these connection woes.
Firmware Glitches
Outdated or corrupted firmware can lead to your Astro headset misbehaving. Here’s how to tackle these glitches:
- Visit the Astro website.
- Download the latest firmware.
- Connect your headset to a computer.
- Use the Astro Command Center software.
- Update headset firmware.
Updating can enhance functionality and restore connections.
Interference And Range Limitations
Wireless devices suffer from interference. Avoid this by:
- Keep gadgets that emit radio frequencies away.
- Stay within the optimal range of the headset.
Walls and electronic devices can reduce signal strength. Keep a clear line of sight to your gaming console or PC.
Basic Troubleshooting Techniques
Is your Astro headset not making a peep? Don’t sweat it! Before you consider sending it off for repairs or buying a new one, let’s run through some simple steps. With these quick fixes, we may just get you back to your immersive audio experience in no time.
Power Cycling The Headset
Turn it off and on again – this age-old trick works wonders. Sometimes, all your Astro headset needs is a fresh start. Follow the steps below to power cycle your headset:
- Switch off your headset and unplug it.
- Wait for a full minute. (Yes, 60 seconds!)
- Plug it back in and power it on.
This simple process can give your device the kick-start it needs.
Resetting To Factory Settings
Restore the original settings of your headset by resetting it. This can fix connection issues. Here’s how you can reset your headset to factory settings:
- Find the small pinhole on your headset. It’s usually near the power button.
- Grab a paperclip and gently press into the hole.
- Hold for about 15 seconds.
- Release and wait for the headset to reboot.
This will erase settings that might have been causing the issue.
Credit: headphonemax.com
Advanced Fixes For Persistent Problems
Even high-quality devices like Astro headsets can face issues.
Advanced fixes can help solve these tricky problems.
Let’s explore some solutions that might save the day.
Updating Firmware
Outdated firmware often leads to connection issues.
Keep your headset’s software up-to-speed for optimal performance.
- Go to the manufacturer’s website.
- Download the latest firmware version.
- Connect your headset via USB to your PC.
- Follow on-screen instructions to install updates.
Restart your headset to complete the update process.
Repairing Broken Components
Physical damage to your headset can cause connection failures.
Identify and replace damaged parts for a secure fix.
Damaged components may include:
- USB ports
- Power cables
- Wireless adapters
Seek professional help if you’re unsure about repairs.
Contacting Support And Warranty Claims
Encountering issues with an Astro headset not connecting can be frustrating. Before surrendering to defeat, it’s time to reach out for help. Astro provides customer service and warranty claims to support these situations. This section will guide users through contacting support and initiating warranty claims.
Utilizing Customer Service
The first step is reaching out to Astro’s customer service team. A quick resolution might be just one conversation away.
- Start by visiting the official Astro support site.
- Look for the ‘Contact Us’ page.
- Fill out the form with your headset details.
- Describe the issue clearly.
Expect a timely response with troubleshooting steps or an invitation to send the product in for further inspection.
Navigating Warranty And Repairs
If customer service suggests repairs, verify the warranty status of your headset. Warranties often cover repair costs, so knowing the terms is crucial.
- Locate the receipt or proof of purchase.
- Check the warranty period on the product.
- Read through warranty conditions.
Submit a warranty claim if within the stipulated period. Ensure all personal information and product details are accurate to avoid delays.
| Step | Action | Result |
|---|---|---|
| 1 | Compile product information | Ready for claim submission |
| 2 | Contact customer support | Guidance on the next steps |
| 3 | Submit a warranty claim | Product inspection/repair |
Follow these steps rigorously for a seamless support and warranty claim experience. Your Astro headset should be back in action in no time.
Credit: www.headphonesty.com
Frequently Asked Questions On Fix For Astro Headset Not Connecting
How Do I Reset My Astro Headphones?
To reset your Astro headphones, hold down the game and Dolby buttons simultaneously for 30 seconds. Release the buttons, then turn on the headphones to complete the reset process.
How Do I Pair My Astro Headset?
To pair your Astro headset, first enable pairing mode on the headset. Then, navigate to your device’s Bluetooth settings and select the Astro headset from the list of available devices. Confirm the pairing to connect your headset.
How Do I Get My Astro Headset To Work On My Xbox One?
To use an Astro headset on an Xbox One, connect the headset to the controller with the provided audio cable. Then, go to ‘Settings,’ select ‘Devices & Accessories,’ and choose ‘Audio’ to adjust as needed. Ensure to update the controller’s firmware if necessary.
What Is The Orange Light On My Astro A50?
The orange light on your Astro A50 indicates that the headset is currently charging.
Conclusion
We’ve navigated through potential solutions for your Astro headset woes. Implementing these tips should ease connection issues and restore your gaming experience. Remember, consistent firmware updates and correct setup steps are key. For ongoing problems, consulting with Astro’s customer support can offer specialized assistance.
Stay tuned for more tech fixes!
